Table of Contents
ToggleAccidents happen, and when they do, the back of an iPhone 13 can look like it’s been through a wrestling match with a toddler and lost. Cracks, scratches, and shattered glass can leave anyone feeling like they’ve just dropped a piece of art. But don’t panic just yet; fixing that back is more possible than you might think.
Whether it’s a DIY project or a trip to the repair shop, options abound for restoring your beloved device to its former glory. So, if you’re ready to give your iPhone 13 a facelift without breaking the bank (or your spirit), read on. Get ready to explore the ins and outs of back repairs, and discover how to turn that sad little phone back into the sleek gadget it once was.
Overview of iPhone 13 Back Damage
Cracks and scratches often compromise the back of an iPhone 13, leading to concerns about aesthetics and usability. Damage can originate from simple drops, mishandling, or contact with hard surfaces. Various factors contribute to the vulnerability of the back glass, including its design and material.
Repairing back damage is attainable through multiple methods. DIY repair kits offer parts and tools for individuals confident in their technical abilities. Professional repair services ensure skilled technicians handle restorations, providing peace of mind.
Estimates show that replacing the back glass can range from $200 to $400, depending on the repair method and service provider. Costs involve not only materials but also labor and warranty coverage. Most manufacturers offer warranties that cover accidental damage, though terms vary.
Options to repair include using adhesives and heat methods for DIY enthusiasts, while professional services utilize specialized equipment. Each method has implications on durability and quality of the repair.
Care for the iPhone 13 impacts the likelihood of back damage. Employing a protective case significantly reduces the chances of breakage from falls. Additionally, regular maintenance checks can catch emerging issues early, potentially preventing future damage.
Making a choice on repairs depends on factors like personal comfort with DIY projects, budget constraints, and urgency. Understanding the risks associated with DIY versus professional repair helps users make informed decisions regarding their iPhone 13’s restoration.
Common Issues with iPhone 13 Back
The back of the iPhone 13 commonly experiences issues such as cracked glass and surface scratches. Both conditions can affect functionality and aesthetics, prompting users to seek solutions.
Cracked Glass
Cracked glass occurs frequently from accidental drops or impacts. Damage often spans from minor fissures to extensive breaks, compromising the phone’s integrity. Users may notice the crack spreading over time, which can lead to internal damage if left unaddressed. Repairing cracked glass typically requires either a DIY approach with a kit or professional assistance. DIY kits generally contain the necessary tools and instructions, while professional services offer warranties and guaranteed results. It’s essential to act quickly when cracks appear, as delayed repairs may escalate costs and damage.
Scratches and Scuffs
Scratches and scuffs on the back of an iPhone 13 result from normal wear and tear. Everyday items, such as keys or coins, can contribute to these marks. Although superficial, they diminish the overall appearance of the device and may cause frustration for users. Removal often involves using specific polish or scratch-removal products designed for glass. However, significant scratches may necessitate replacing the back glass, especially if they impact functionalities like wireless charging. Regularly using a protective case or skin can significantly reduce the risk of these blemishes, maintaining the device’s aesthetic and longevity.
Can You Fix the Back of an iPhone 13?
Repairing the back of an iPhone 13 is achievable through various methods, whether opting for DIY solutions or professional assistance.
DIY Repair Methods
DIY repairs can be cost-effective and satisfying. Using a back glass repair kit, individuals can replace the damaged glass themselves. These kits typically include necessary tools such as adhesive strips and instructional guides. Caution is essential; working without adequate experience may lead to further damage. Minor scratches often respond well to polish or scratch-removal products, which can restore the device’s appearance. Users should research their specific model and ensure the kit compatibility. While this option saves money, the effectiveness of the repair varies by skill and attention to detail.
Professional Repair Services
Professional repair services offer reliability and peace of mind. Technicians with experience handle repairs efficiently, often providing warranties on their work. The cost for service ranges from $200 to $400, depending on location and service provider. Most repair shops use high-quality materials, ensuring better durability than DIY methods. They also conduct a thorough inspection, addressing potential internal issues alongside visible damage. Opting for professional assistance may be the best choice for those with limited repair experience or tight timelines.
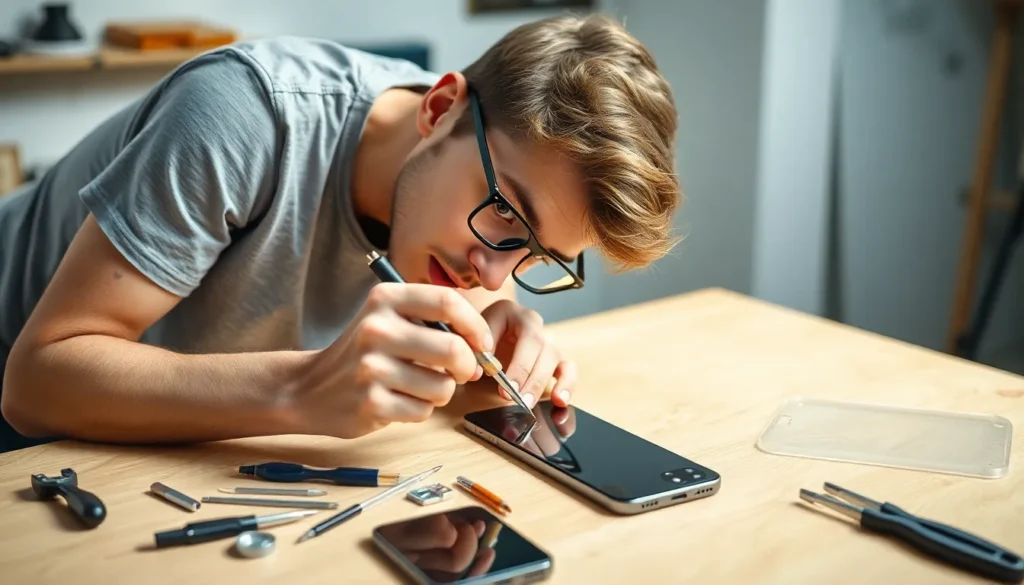
Tools Required for DIY Repair
Repairing the back of an iPhone 13 requires specific tools to ensure a successful outcome. Gather the following essential tools:
- Pentalobe screwdriver – This tool removes the two pentalobe screws near the charging port.
- Phillips screwdriver – For accessing internal components, a Phillips screwdriver is necessary.
- Plastic spudger – This helps pry open the device without causing damage to the internal parts.
- Tweezers – Useful for handling small screws and components, ensuring precision during the repair.
- Suction cup tool – This aids in lifting the back glass safely and efficiently without cracking it further.
- Heat gun or hair dryer – Applying gentle heat softens adhesive, allowing easier removal of the glass.
- Replacement back glass – Ensure to have a compatible piece ready for installation.
Consider wearing an anti-static wrist strap to prevent electrostatic discharge while handling delicate components. Using a magnetic mat can help keep screws organized during the repair process.
Each tool plays a vital role in the repair procedure, reducing the risk of mishaps. Familiarizing oneself with each tool enhances confidence before embarking on the repair journey. Following step-by-step guides will assist in ensuring a smooth process, yielding better results.
Cost of Repair Options
Repair costs for the back of an iPhone 13 vary based on the chosen method and service provider. For professional repairs, prices typically range from $200 to $400. The final cost often reflects the provider’s expertise, warranty options, and any additional services included.
DIY repair methods present a cost-effective alternative, with repair kits generally priced between $30 and $100. These kits usually contain essential tools and instructions, allowing users to attempt repairs themselves. Yet, potential DIY repair candidates need to consider their experience level, as improper handling may lead to further damage.
Warranties offered by professional services add value by covering potential issues after repair. Depending on the provider, warranties may range from 30 days to one year, giving added peace of mind. Investing in a reliable repair service ensures skilled technicians handle repairs while maintaining quality standards.
Scratches and minor scuffs, while detrimental to aesthetics, often require less financial commitment. Polishing products or scratch-removal kits typically cost under $20. Minor repairs can restore the device’s appearance at a fraction of the price of back glass replacement.
Costs associated with repairs should factor in convenience and urgency. Users in a hurry may favor professional services over DIY efforts despite the higher cost. On the other hand, those comfortable with technology might find satisfaction in tackling repairs themselves.
Options exist for varying budgets and preferences regarding back repairs on the iPhone 13. Evaluating costs, convenience, and personal skills can guide users in selecting the best repair service or method.
Repairing the back of an iPhone 13 is a viable option for those facing damage. Whether opting for a DIY kit or seeking professional help, users have multiple avenues to restore their device. The choice ultimately depends on individual comfort levels, budget, and urgency.
By addressing cracks and scratches promptly, users can maintain their phone’s integrity and appearance. Investing in protective accessories and conducting regular maintenance can further prevent future issues. With the right approach, it’s possible to bring an iPhone 13 back to life without excessive hassle or expense.


